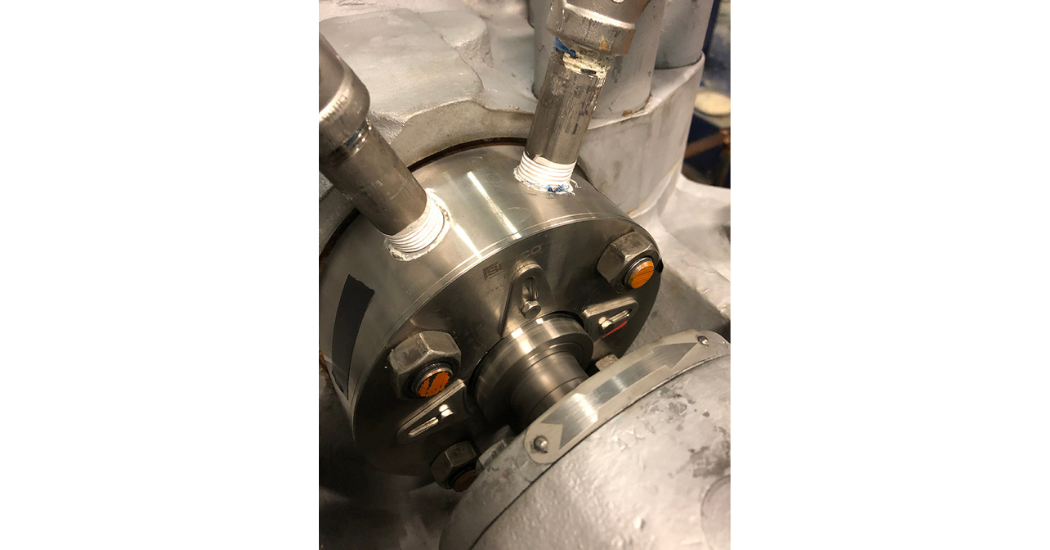
Installing a mechanical seal is a crucial task that demands precision and attention to detail to ensure optimal performance and efficiency. Here are the basic steps for installing a mechanical seal in a pump or similar equipment, along with the tools commonly required for the job:
Steps for Installing a Mechanical Seal
1. Preparation and Safety Check
- Ensure Safety: Lock out and tag out the equipment to ensure it cannot be started during maintenance.
- Clean Work Area: Make sure the work area and tools are clean to avoid contamination of the seal components.
2. Disassembly
- Remove Old Seal: Carefully disassemble the equipment to access the old mechanical seal. Remove any components that obstruct access to the seal.
- Inspect Components: Examine the shaft, sleeve, and housing for wear, damage, or corrosion. Replace or repair as necessary.
3. Cleaning
- Clean Parts: Thoroughly clean all parts that will be in contact with the new seal, such as the shaft, seal chamber, and gland plate.
4. Component Inspection and Measurement
- Measure Components: Use calipers or a micrometer to measure critical dimensions, such as shaft diameter and gland plate dimensions, ensuring the new seal will fit correctly.
- Inspect New Seal: Verify that the new seal matches the specifications needed for the application and check for any defects.
5. Installation of the Mechanical Seal
- Lubricate: Apply a thin layer of compatible lubricant to the shaft or sleeve to facilitate installation of the seal.
- Install Seal on Shaft: Slide the seal assembly onto the shaft, ensuring it is oriented correctly. Be careful not to damage the sealing faces.
- Position Seal: Position the seal within the pump according to manufacturer specifications. This often involves setting the seal at a specific depth or alignment relative to the shaft end or casing.
6. Reassembly
- Reassemble Components: Carefully reassemble the other parts of the equipment, such as impellers, bearings, and housing. Ensure all parts are aligned and seated properly.
- Tighten Fasteners: Secure all bolts and fasteners to the torque specifications provided by the equipment manufacturer.
7. Testing
- Leak Testing: Once assembled, perform a leak test according to the manufacturer’s instructions. This may involve running the equipment at a low operational level in a controlled environment.
- Operational Test: Conduct a complete operational test to ensure the seal functions correctly under normal working conditions.
Tools Needed for Installation
- Calipers and Micrometers: For precise measurements of shafts and other components.
- Allen Wrenches and Socket Set: For disassembling and reassembling equipment.
- Torque Wrench: To ensure that all bolts and fasteners are tightened to the correct specifications.
- Screwdrivers: Various sizes for handling different types of screws during the disassembly and reassembly process.
- Rubber Mallet: Useful for seating parts gently without damaging them.
- Cleaning Solvents and Rags: For cleaning components during disassembly.
- Lubricants: Specific to the seal material and process fluid.
- Seal Installation Tool: Some mechanical seals require specific tools for proper installation to avoid damage to seal faces and components.
Following these steps and using the appropriate tools will help ensure a successful mechanical seal installation, leading to optimal performance and longevity of the equipment. Always refer to the specific guidelines provided by the seal and equipment manufacturers, as the exact procedures can vary depending on the design and application.
Read Reasons Mechanical Seals Fail: https://empoweringpumps.com/sepco-why-do-mechanical-seals-fail/


