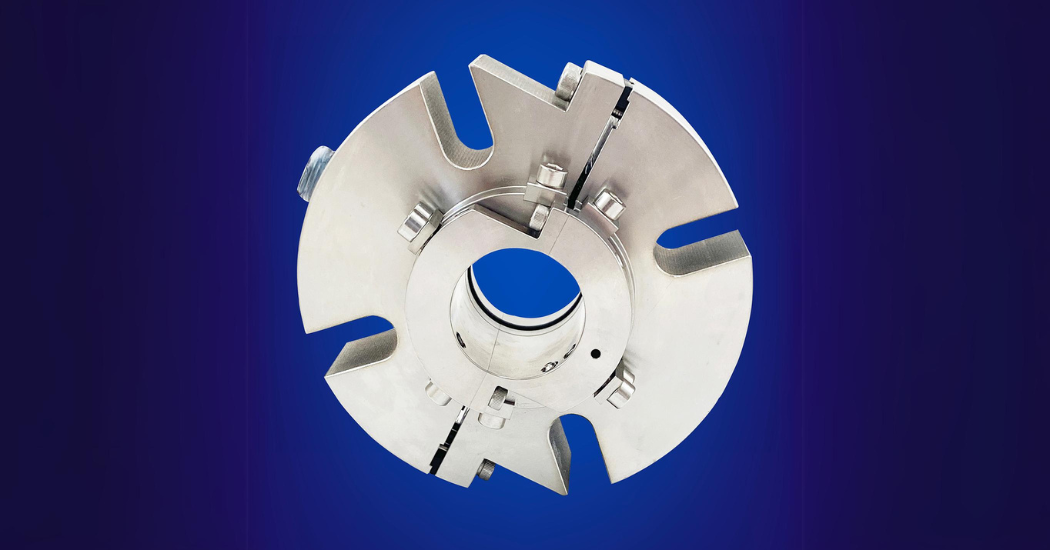
Installing mechanical split seals in rotating equipment demands careful attention to detail, precision, and strict adherence to best practices to guarantee optimal performance and extended lifespan. Here are some best practices to consider when installing mechanical split seals:
- Thorough Inspection: Before installation, inspect all components for damage or wear. Ensure that the shaft or sleeve, where the seal will be mounted, is free from damage, burrs, or sharp edges.
- Cleanliness: Ensure all components, including the shaft, seal chamber, and seal faces, are clean and free of contaminants. Any debris can hinder the performance of the seal.
- Proper Lubrication: Apply a thin layer of lubricant to the shaft or sleeve before installing the seal. This assists in the placement and can help prevent damage during installation.
- Follow Manufacturer’s Instructions: Always refer to the manufacturer’s installation manual. This will provide specific details on the orientation of the seal, any required torque specifications, and other essential steps.
- Seal Orientation: Ensure that the split seal halves are oriented correctly, as indicated in the instructions. Incorrect orientation can cause leaks or early seal failure.
- Even Tightening: When securing the seal with set screws or clamping mechanisms, ensure even tightening. This avoids uneven pressure on the seal faces and helps maintain proper face alignment.
- Alignment Checks: After installation, double-check alignment of the shaft and equipment. Misalignment can cause premature wear or failure of the mechanical split seal.
- Use the Right Tools: Always use the proper tools for installation. Avoid using sharp or pointed tools that could damage the seal or its components.
- Test After Installation: Once installed, it’s a good practice to test the equipment at a low speed to ensure that the seal is functioning correctly and there are no leaks. This can identify and correct any issues before full operational speeds are attained.
- Regular Maintenance: Even after successful installation, regularly inspect the seal for wear or damage. Periodic checks can help identify issues early and prolong the life of the seal.
- Documentation: Keep records of every installation, including date, seal type, equipment details, and any observed anomalies or issues. This aids in future maintenance or troubleshooting.
- Training: Ensure that personnel involved in the installation are adequately trained. A well-trained team is less likely to make errors during installation.
- Safety First: Always follow safety protocols when installing mechanical split seals. Ensure the equipment is locked out and tagged out before starting the installation process.
Incorporating these best practices ensures the mechanical split seals are installed correctly, function optimally, and last longer, reducing downtime and maintenance costs.


