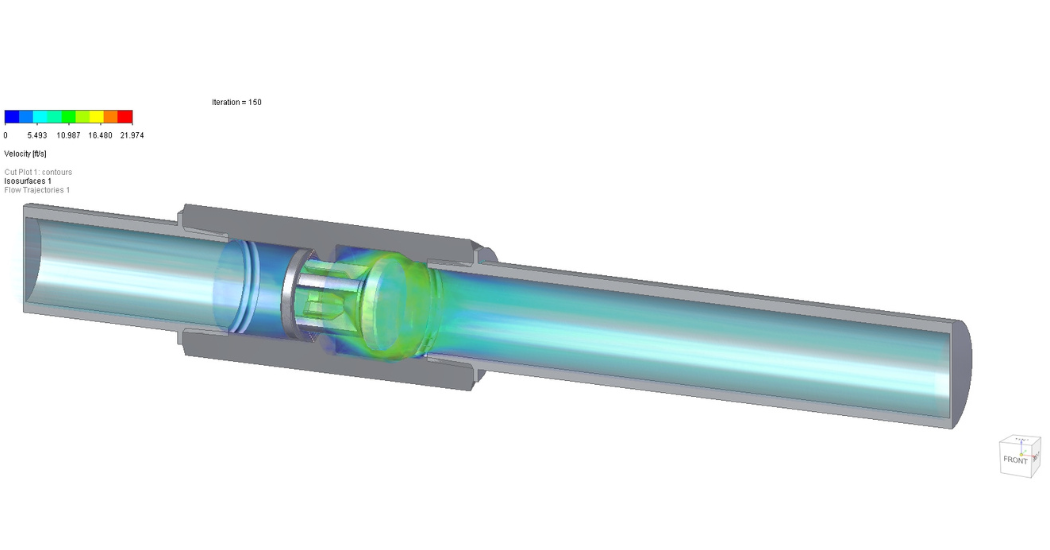
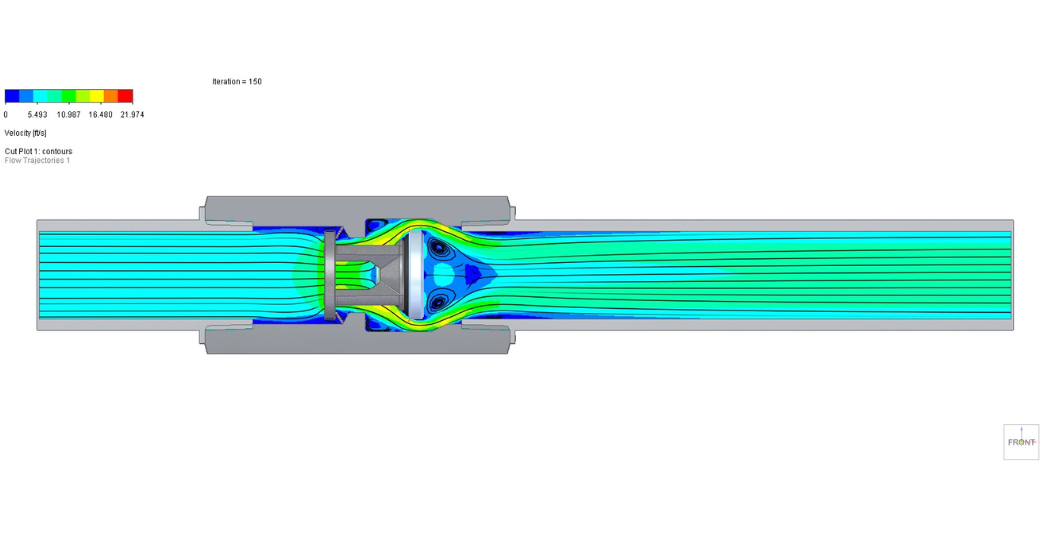
The importance of properly sizing and installing check valves for your specific application requires following proven methods that can decrease your added costs and system downtimes, as well as maximize the overall check valve life for your piping systems.
There are two major indicators of premature check valve failure:
1. Sizing.
To ensure a maximum check valve life for a given application, proper sizing is crucial. It’s important to determine the correct amount of flow and pressure to fully open the selected check valve to prevent failure and maximize the life of the check valve. To accomplish the correct sizing, ensure that you have all the flow data of the media (whether liquid or gas), as well as the specific gravity, temperature, and flow rate. That information is calculated to determine the pressure drop and whether the check valve is fully open.
Even if that calculation is used effectively for sizing, determining the minimum pressure is also required. For example, with a standard spring valve, for a check valve to fully open with a .5 psi, depending upon the manufacturer, a multiplier (i.e. 3x cracking pressure) is required in calculated pressure drop across the valve (3 x .5 is 1.5). In this example, if there is less than 1.5 psi, that check valve is not fully open and other elements, such as CV, may also not be accurate.
Meeting the minimum pressure drop criteria will determine whether the sizing equation is correct. A check valve that is not fully open may cause the valve to chatter, causing damage to the equipment. It’s important to size the valve for the application rather than for the line size.
2. Installation.
Ideally, up to 10 pipe diameters upstream from the check valve is desired to provide a lamenter flow through the check valve so that it meters properly. This prevents issues with offset flow velocities or flow spend. Any time there is a change in flow direction (for example, around a pipe elbow) there is ultimately a change in flow velocity. This unevenly pushes more media to one side of the check valve, which can cause the flow to spin or tumble. It can also damage the equipment. If you are getting premature check valve wear issues and you have not installed your check valve the desired distance from a flow skewing device (such as a pipe elbow) to achieve fully developed flow, you should consider the use of additional flow straightening equipment or relocation of the check valve installation
 Benefits of Proper Sizing and Installation
Improper size and installation are key indicators of check valve problems. Ideally, these variables come into play on the design side. Properly sized check valves that are installed correctly can minimize downtime and additional costs for labor and product. Taking care of these details on the front end is recommended, but if problems are occurring in the field, an awareness and education of check valve sizing and installation best practices can minimize the damage and help to avoid future issues.
“To take these additional steps in the beginning requires a little extra time,” says Check-All Valve Applications/Engineered Sales Manager Noah Miller. “The manufacturer must be contacted to get the key data to make the proper decisions. But the rewards are decreased downtime, lower field costs, and minimize warranty claims.”
For more information about properly sizing and installing check valves, please follow this link. To view a webinar with more detail on this topic, please follow this link.


