While efforts can be made to minimize model run times, the reality remains that certain systems in transient simulations, due to their size, complexity, or intricate dynamics, inherently require longer processing durations or finer sectioning for accurate representation. In such cases, long run times can be unavoidable.
Have you ever needed to pause a lengthy simulation? Transient checkpoint files, which were introduced in Impulse 10 and xStream 3, allow you to do precisely that!
Pausing and resuming simulations using checkpoints
The option to Create a Checkpoint File for the Last Time Step in the Transient Checkpoints panel of Analysis Setup is active by default when you create a new model file in Impulse and xStream. If that option is active, a checkpoint file can be created by pausing the solver and selecting Create Checkpoint File from the Other Actions menu.
- Alternatively, a prompt will come up when you cancel out of the Solution Progress window that will give you the option to create a checkpoint file.
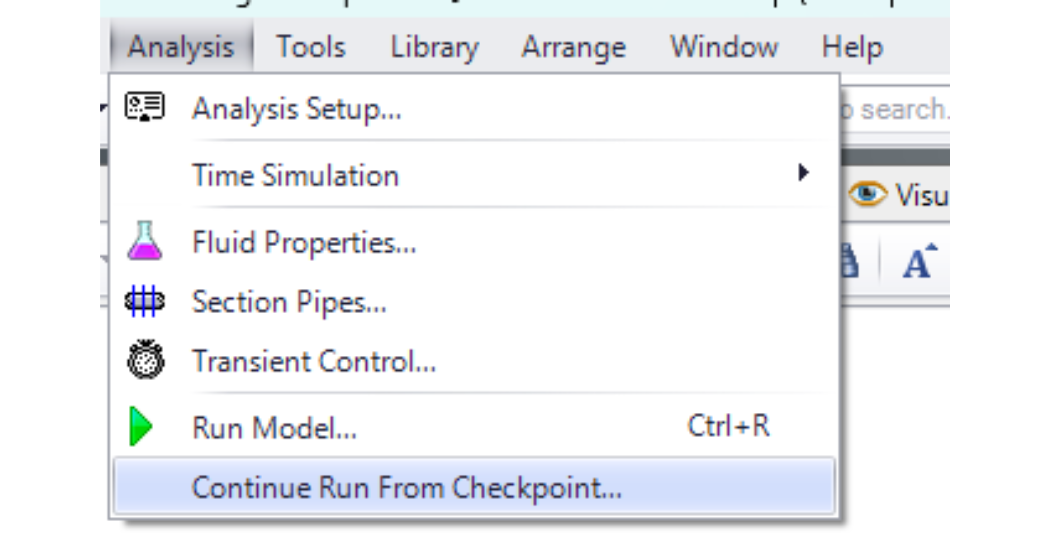
- When you are ready to continue the solver run, select Continue Run From Checkpoint in the Analysis menu and select the checkpoint from which to continue the solution.
- Continuing the run from the last time step will get you right back to where you left off.
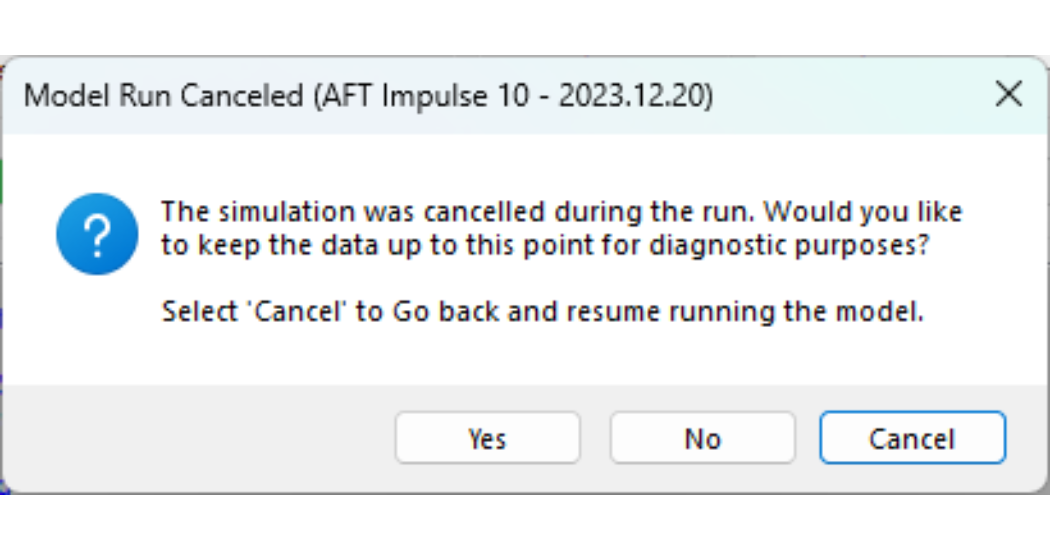 Tip: If you need to close the program or restart your computer, remember to save the model at this time.
Adding more time to a simulation
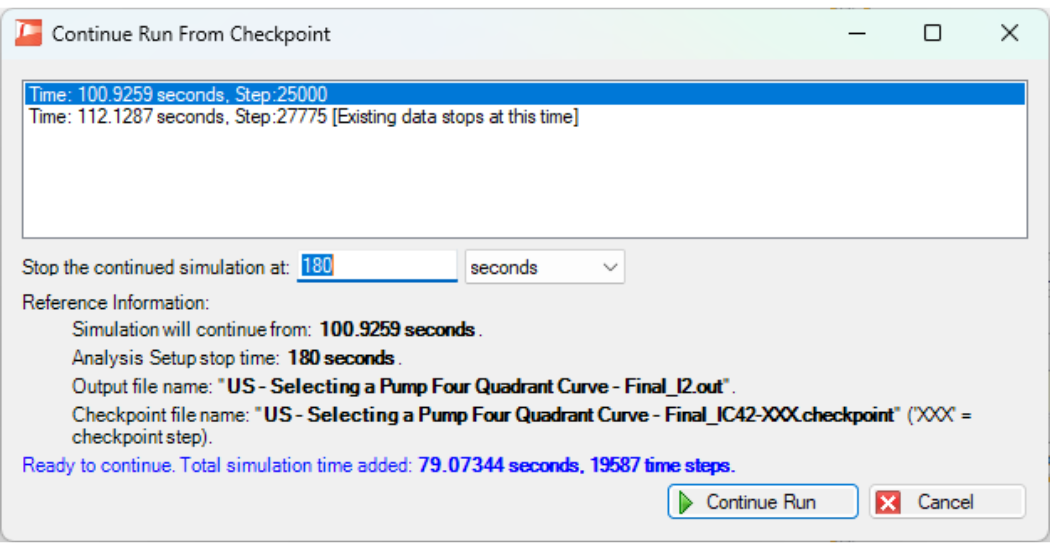
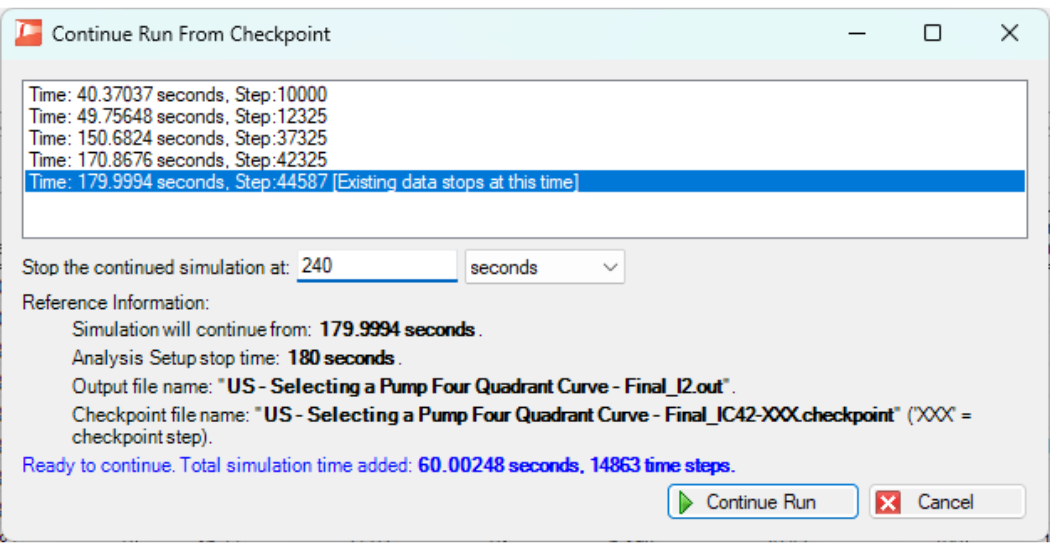
If you need to see what happens after your current simulation stop time, you can also accomplish this using the checkpoint file from your final time step without needing to run the entire simulation again. In the Continue Run from Checkpoint window, select your final time step and enter a new stop time in the text box below.
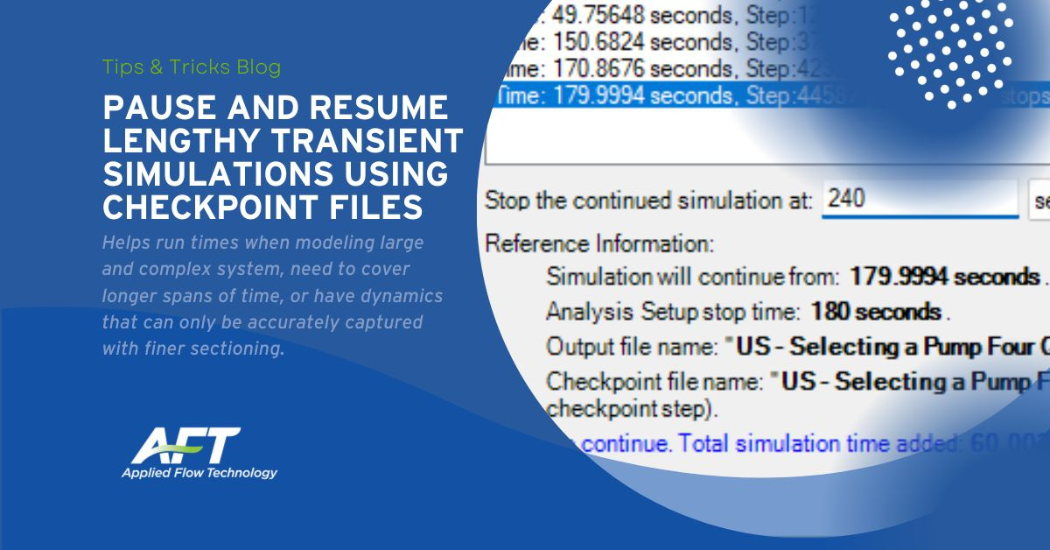
In this example, the original stop time was 180 seconds, and the checkpoint feature was used to extend the simulation to 240 seconds. Note that if the stop time was changed to 240 seconds in Analysis Setup instead, output would have been cleared and it would have been necessary to rerun the entire simulation.
 Checkpoint files as a diagnostic tool
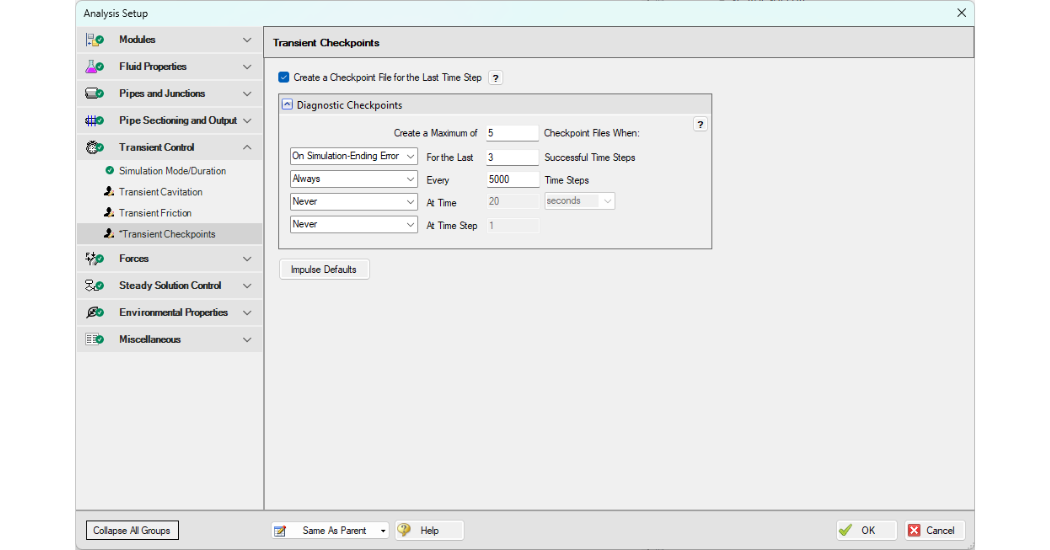
Beyond providing a way to pause and resume simulations, checkpoint creation can also be automated for troubleshooting purposes. This can be customized to your needs from the Diagnostic Checkpoints section of the Transient Checkpoints panel.
By default, checkpoint files are created for the last three successful time steps whenever the solver encounters an error that ends the simulation. However, you can also opt to create them on a rotating basis on a fixed interval of time steps (every X number of steps), at a specific point in time, or at a specific time step. If these methods are selected using the On Simulation-Ending Error option, the checkpoint files will only be generated when there is a problem.
Unlike output files, checkpoint files (which have the file extension “.checkpoint”) are typically small enough to be attached to an email. If you have a model with long run times and you run into a convergence issue or solver error, feel free to attach your checkpoint file with your model file when contacting AFT support!
 While the old output file is needed to generate complete output when resuming a run, running a model from a checkpoint without an output file still lets us see everything happening in the system starting from the checkpoint, providing us with useful context for troubleshooting and allowing us to replicate your observations more quickly.

